Recycled Plastic Edging Installation
4 Easy Installation Steps
Our Recycled Plastic Garden Edging can be placed directly onto soil, road base, sand, concrete surfaces and slabs. Site prep required is at the discretion of the installer dependent on above or below ground use. The only tools you need is a set of pliers or cutting knife and a hammer. It a length needs to be cut this can be achieved with a drop saw or with a hack saw.
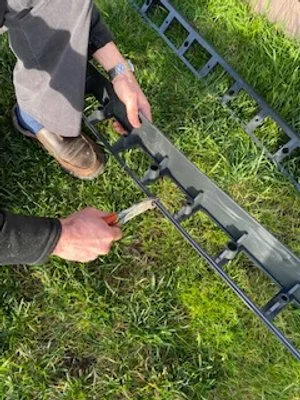
STEP 1 : Cut the joiners to create curves.
If you intend bending the plastic edging to create curves cut the joins with a set of pliers or a cutting knife. If you want to keep the edging straight you do not need to cut these.
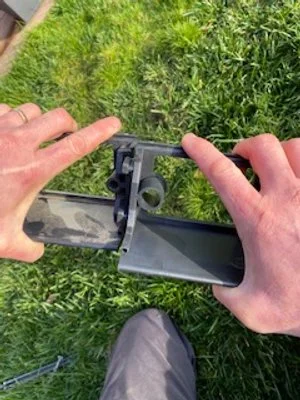
STEP 2 : Join the lengths
The lengths are simply connected together at each end by slotting one edge into the other. This can be done before placing the edging in position or each length can be added to the edging that is already in place. If tight, it may require a tap with a rubber mallet to get the two lengths correctly secured.
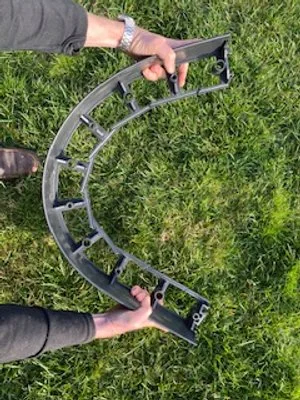
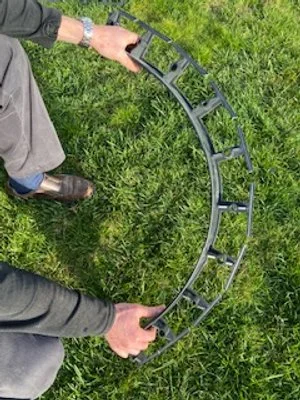
STEP 3 : Bend the edging in the desired direction,
The edging can be bent in either direction. While the edging is very flexible if bent too far it will snap. The tightest circle possible is achieved with two lengths (650mm circumference)
STEP 4 : Hammer in the steel pegs
Once in position, the edging is secured by hammering in the steel pegs. Three pegs are provided per one metre length


